
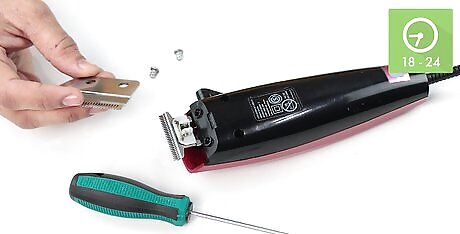
Disassembling the Shaver
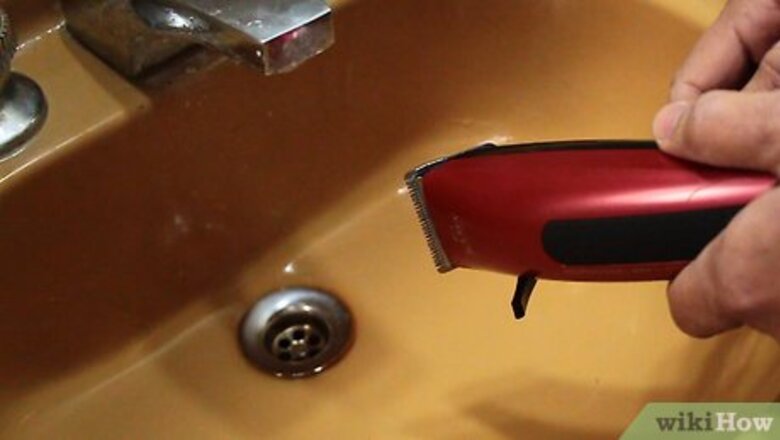
Hold the shaver over your bathroom sink. Since you’ll be cleaning hair and dead skin cells out of your shaver, you may not want to do it over a floor. Cleaning your shaver over your sink will allow you to easily get rid of fallen hairs and skin with just a bit of water.
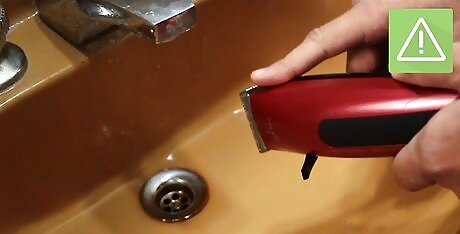
Turn off and unplug the shaver. Some shavers have an on/off switch, whereas others have a switch you depress to activate the blades. Either way, make sure it isn’t running; you want to make sure there is no electric current running through the shaver before you begin. If water gets into the shaver, it could cause electrocution or damage the shaver. If your electric shaver is battery powered, you may want to remove the batteries before cleaning it.
Snap the head off of the shaver. While models will vary, most will have a snap off head. There should be a small clip at the bottom of the head; press on this with your finger and it should come free. Generally, this is the only disassembly required. Electric shavers usually fit one of two categories: rotary or foil shavers. The disassembly is a bit different for each category, so refer to your shaver’s instruction manual for details. Be careful with the pieces you remove from the shaver. Some are incredibly sensitive and shouldn’t be cleaned. Refer to the owner’s manual to know how far you should disassemble the shaver and what you should be cleaning.
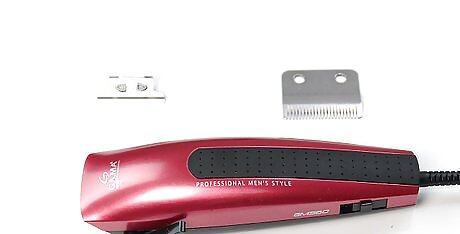
Inspect your shaver for defects. Since you’re about to clean it, you should take a moment to make sure there aren’t any cracks in the casing or damage to the shaver head, such as nicks in the blades. If you can see any seals or gaskets, make sure to inspect them for damage.
Cleaning the Shaver
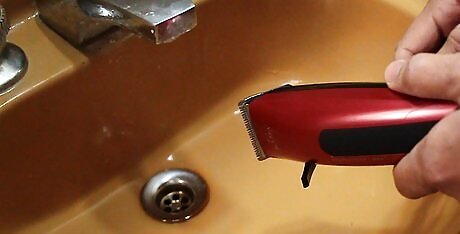
Tap the shaver lightly to shake out hair. Hold the shaver at an angle, the head pointed downwards over your sink. With one finger, tap the side of the shaver firmly. Tapping repeatedly will shake most of the the hair loose. Keep doing this until you don’t see any hair falling out. Avoid tapping the shaver against the sink; the impact of the hard porcelain could damage the shaver’s more sensitive parts.
Brush the shaver’s cutters and spinning parts. Most electric shavers come with a micro-bush specifically designed for cleaning it. After removing the shaver head, you should be able to reach the mechanisms that a hair could get lodged into. Brush gently, to make sure you’re not causing any scratches or scuffs. If your shaver didn’t come with its own brush, you can use a small paintbrush. Make sure there aren’t any pieces of dried paint latched onto the bristles, as these could scratch, scuff or otherwise damage the shaver’s mechanisms.
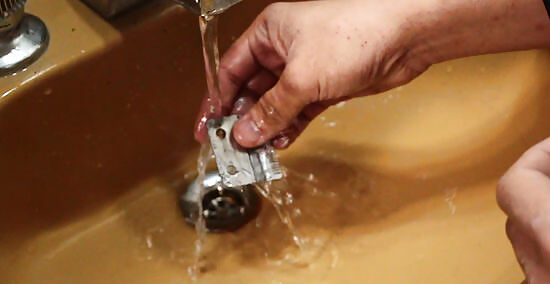
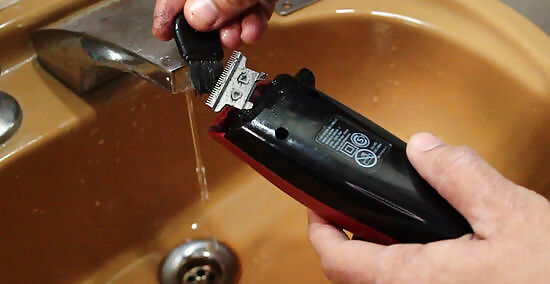
Clean water washable shavers under the tap. Some electric shavers are specifically constructed to be cleaned with water without damaging the mechanism. For these, you can hold them under the tap and wash with hot water. You can also use soap if you need to clean any gunk or grime out of your shaver. Not all shavers can be cleaned with water and some might be irreparably damaged. Make sure to check the owner’s manual before trying to clean your shaver with water.

Allow water washable shavers to dry. Wipe down the shaver’s body and parts with a towel, then allow it all to air dry. The last thing you want is to put everything back together with drops of water trapped inside.
Apply a commercial cleaning spray. These are usually sold by your shaver’s manufacturer. They will lubricate and de-grease the shaver’s blades and other mechanisms. Instructions may vary depending on the cleaner, but usually you should just need to spray a bit of the cleaner into the shaver after removing the shaver head.
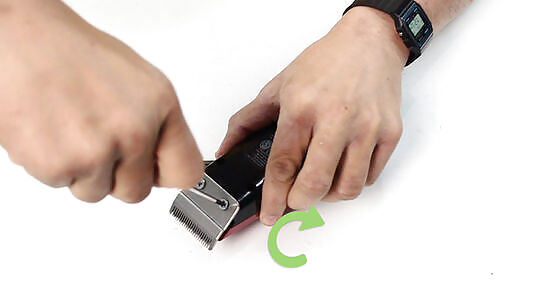
Reassemble the shaver. The complexity of this step will depend on how thoroughly you had to disassemble the shaver. Reverse the order of your disassembly, until your shaver is put back together.
Maintaining your Shaver
Shake hair out of the shaver regularly. After removing the shaver head, tap the body with your finger to shake out loose hairs. Because this is very simple and only takes a few seconds, you should do it after every shave, even if you’re not thoroughly cleaning your shaver.
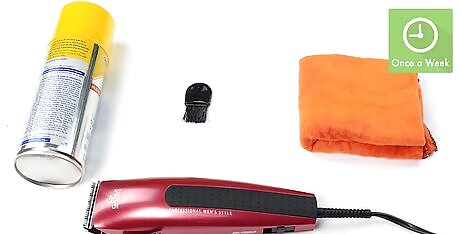
Clean your shaver thoroughly once a week. Daily maintenance doesn’t need to go beyond shaking out loose hairs. However, cleaning the shaver more thoroughly will involve brushing hair out of the motor and and cutting assembly. Leaving these hairs will cause more wear on your shaver.
Replace all cutting parts every 18-24 months. This ensures that your shaver will keep working optimally in the long run. Get replacement parts directly from your shaver’s manufacturer. It might seem expensive, but it’s a lot less expensive than having to buy a new shaver because yours was ruined by cheap parts.


Comments
0 comment